I like to post clues and today I will be posting one more picture tutorial. For who lost the previous tutorials the best is to click in
pictures examples and
tips for good picture to read those tutorial before continuing.
How to shoot perfect pictures? Picture without the horrible shadow. Sometimes we spent a fortune in a clothes and skins but shadows end up destroying our pictures.
Those clues are just to improve your pictures. Other users will still continue to see shadows in your face. To eliminate the undesirable shadows once and for all from your face the best option is the Face Light. You can find a variety of Face Light in the market. I particularly use and recommend the FaceFX. You can acquire a very accessible one in
Anna Avalanche Style Store. Before buying, however, catch the demonstrative free, a little box in the ground in front of the vendor. There are two options of FaceFX, from 75 L$ to 375L$.
Well, let’s start! For the beginners that still don't know SL well, it is possible to change the light. Enter in the menu World > Environment Settings > Environment Editor and click in Advanced Sky. With so many options, it is easy to get lost and to finish opting for something that makes your appearance worst.
I found a blog
Style in SL with the download and description on how to customize the sky for a good pictures, by Caliah Lyon. If you prefer
download this preset here and place the file directly in: C://Program Files/Secondlife/app_settings/windlight/skies.
After that, login Second Life and go at menu World > Environment Settings > Environment Editor and Advanced Sky. Seek in the rectangle, Sky presets, for CalWL like the picture below.


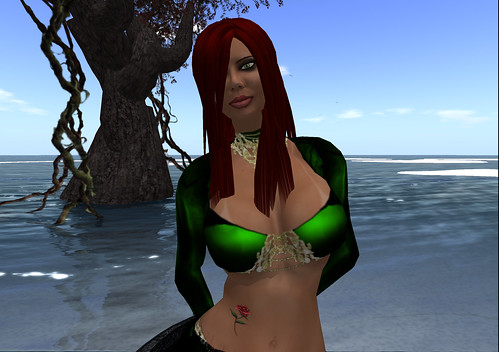
(Picture above) Normal light adjusted for midday. See the horrible shadow!

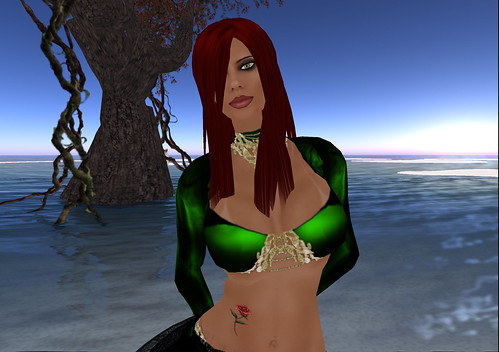
(Picture above) Light adjusted using this tutorial. Did you see the difference?

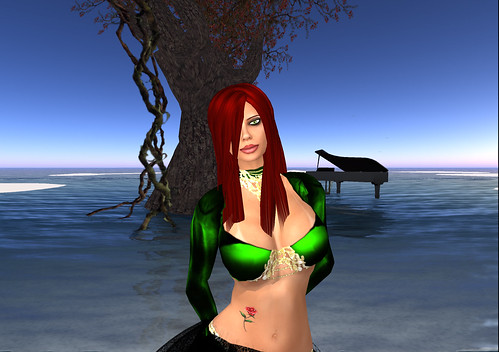
(Picture above) Light adjusted using this tutorial plus face light. Did you see the quality? Even the hair color is better!
Or follow this guide to set it manually

The Atmosphere Tab
This is largely to improve the quality of the horizon and has little bearing on the lighting itself, -except- for the Max Altitude, Density/Distance multiplier values. You can tweak the other settings to your satisfaction to get better skies.
Blue Horizon: R: 0.12, G: 0.12, B: 0.16, I: 0.16
Haze Horizon: 0.09
Blue Density: R: 0.32, G: 0.59, B: 1.00, I: 1:00
Haze Density: 0.65
Density Multiplier: 0.18
Distance Multiplier: 2.0
Max Altitude: 188
Lighting Tab
Set Red and Green values slightly higher to give the light a warmer “sunlit’ tone, but you can make all RGB values equal for a whiter, more neutral light. If you want brighter light you can raise Ambient using the “I” (Intensity) slider. A range of 0.67-0.77 is recommended, combined with Scene Gamma of 1.08-1.22. Note that you may have to lower both Ambient and Scene Gamma if you regularly visit builds with a lot of local lights.
Sun/Moon Color: R, G, B and I at 0.086
Sun/Moon Position: 0.000
Ambient: R:0.67, G:0.64, B:0.63, I:0.67 or R: 0.70, G: 0.67, B: 0.66, I: 0.70 (second setting is brighter)
East Angle: 0.16
Sun Glow: Focus: 0.10 Size 1.75
Scene Gamma: 1.08-1.15
Star Brightness: 0.00
The Clouds Tab
The only difference with the clouds tab from any default preset you might have is the coverage. I’ve set it to low (exactly 0.13).
Cloud Coverage: 0.13
As always, you can fine-tune these settings to suit your particular preference.
Now save with a easy name and good pictures.
Unfortunately the blog is not the best place to publish a good quality picture. If you wish to look at a good resolution picture please access my
flickr or
Orkut .
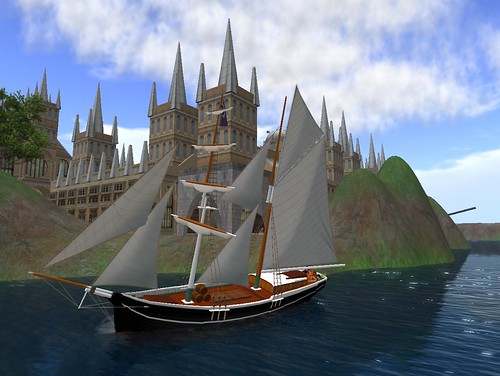
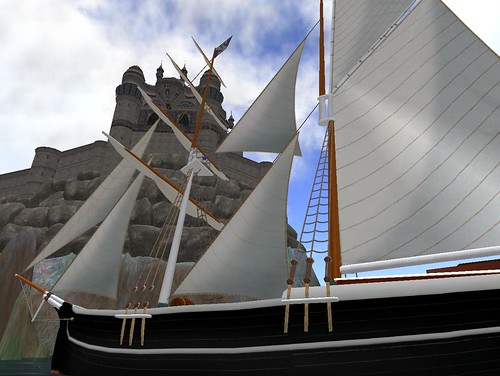
This pictures were took at
Chouchou . This place is beautiful.
